Moen
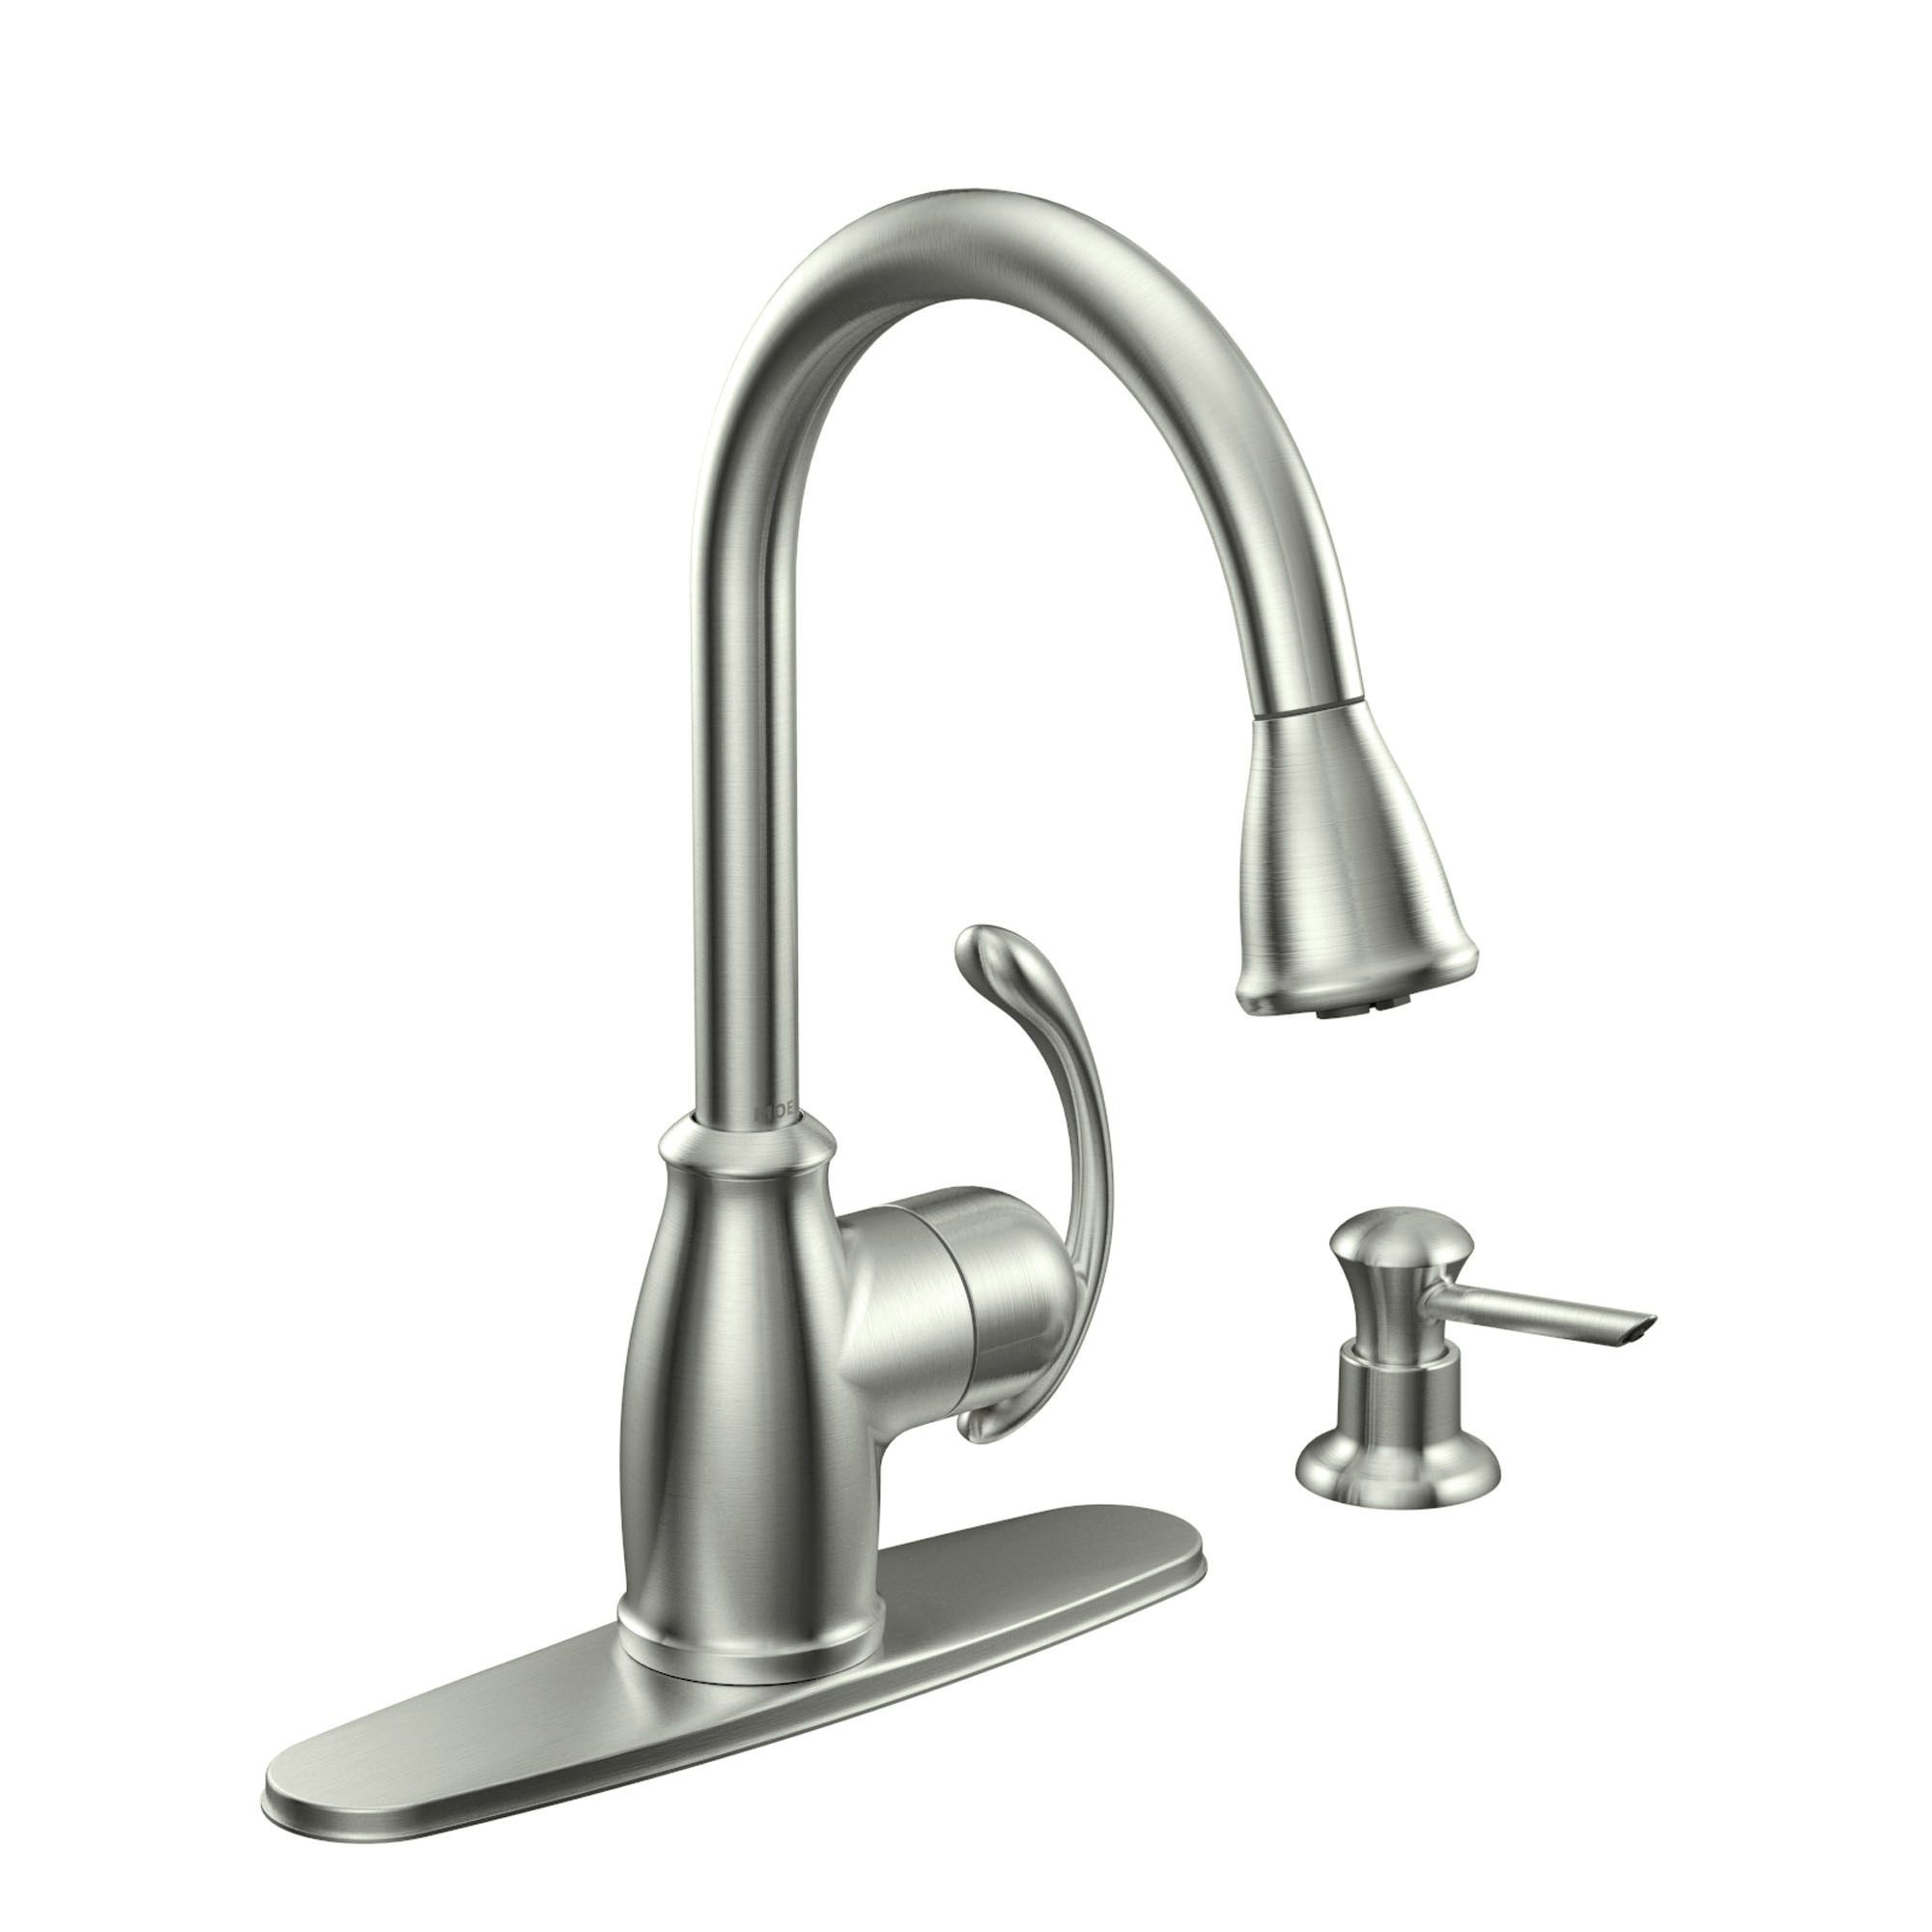
Robinet d'évier Moen Terrace, acier inoxydable
#063-3786-2
229,99 $
Malheureusement, cet article ne fait plus partie de l’assortiment du magasin que vous avez sélectionné et les magasins de la région.
Ces produits similaires présentés ci-dessous pourraient vous intéresser.Articles de remplacement disponibles


À l'attention des personnes résidant au Québec: pour obtenir des renseignements sur l'entretien et la réparation, cliquez ici.
Objets similaires


Produit Détails
Robinet d'évier Moen Terrace en inox pour une cuisine élégante et fonctionnelle
Fini en inox, bec très arqué à un levier, douchette rétractable à 2 modes de jet et 1 mode à jet puissant pour le service intensif
Fini antitache Spot Resist en inox prévient les taches de doigt et d'eau pour une cuisine d,apparence plus nette
Distributrice à savon comprise
Convient aux éviers de 1 à 4 trous
Tuyau de 68 po de long
Système de raccord rapide facilitant l'installation
Garantie:
- Cat article est couvert par une garantie spéciale. Pour de plus amples renseignements sur la garantie, rendez-vous à votre magasin Canadian Tire.
Commande en ligne
- Le ramassage est gratuit dans la plupart des magasins (certains magasins exigent un montant minimum de commande avant taxes).
- Les tarifs d’expédition dépendent de la taille et du poids des articles, ainsi que de la distance entre l’adresse de livraison et le magasin.
- La livraison le jour même coûte 9,99 $ par commande.
- Informations sur une commande en ligne
Retours
- La plupart des articles peuvent être retournés ou échangés dans tous les magasins Canadian Tire dans les 90 jours suivant l’achat.
- Certains articles ne sont pas remboursables ni échangeables.
- La politique de retour décrite ci-dessus peut ne pas s’appliquer à l’article que vous consultez présentement. Pour obtenir tous les détails et connaître les critères d’admissibilité, veuillez consulter notre Politique de retour pour connaître les exceptions.
Comparer des articles semblables
Only Show Differences | Consultation en cours | |||||
| Ratings | ||||||
| Type de robinet | Robinet de cuisine | Robinet de cuisine | Robinet de cuisine | Robinet de cuisine | ||
| Fini de la plomberie | Or brossé | Chrome | Noir | Acier Inoxydable | ||
| Modèle | Moderne | De Transition | De Transition | Moderne |


Acheter des produits connexes
- Offres hebdomadaires
- Les clients ont aussi consulté
- Vers les produits tendances
- Plus de cette marque


