We’re STILL shipping! Click here for Canada Post labour dispute updates.
Preview our Back to It Big Red Event with deals As Low As We Go This Season.†
Browse NowThis paragraph should be hidden.
How to set up a portable shelter
Need to protect your vehicle, outdoor tools, and equipment from the elements with a portable shelter? Don’t worry – you’ve got this.


STEP 1
Select shelter size and strength
STEP 2
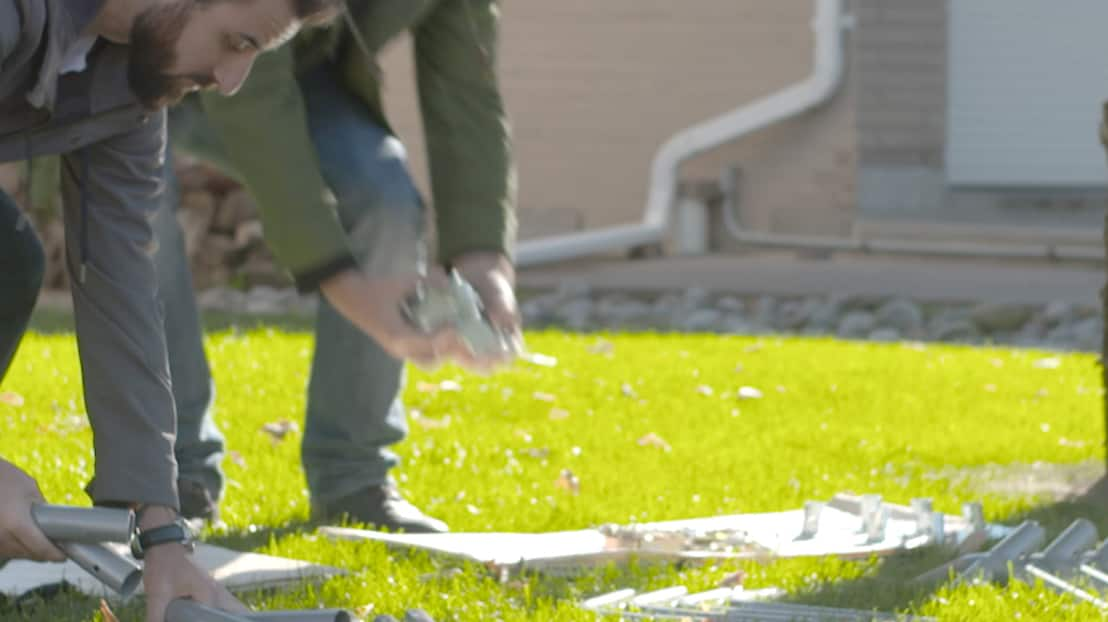
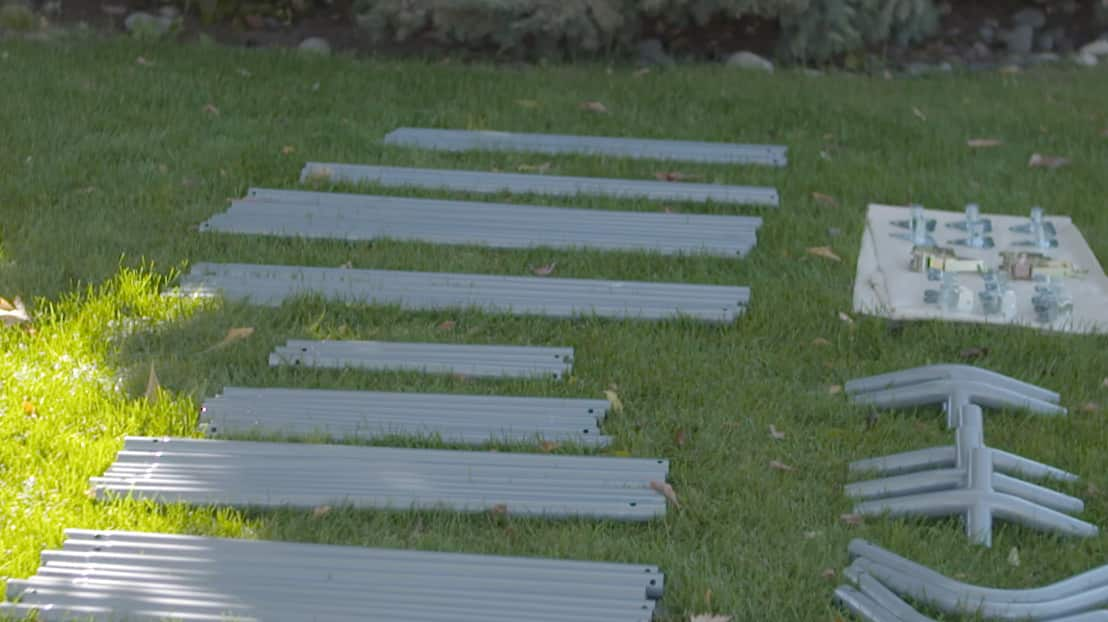
Lay frame parts on a flat surface
STEP 3
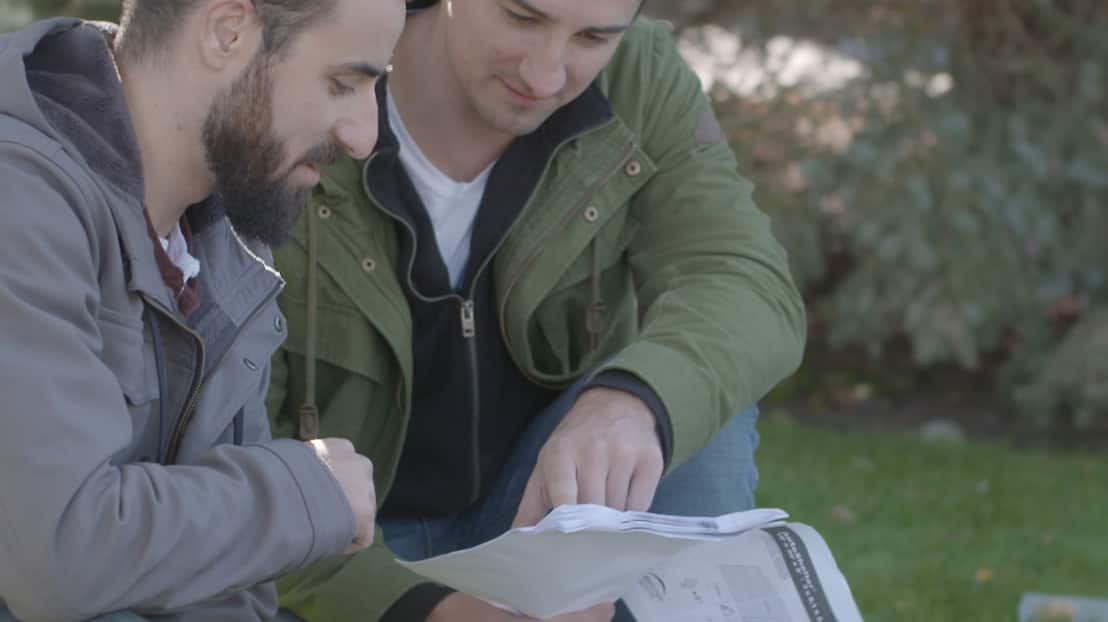
Follow the set up instructions
STEP 4
Assemble frame from roof structure
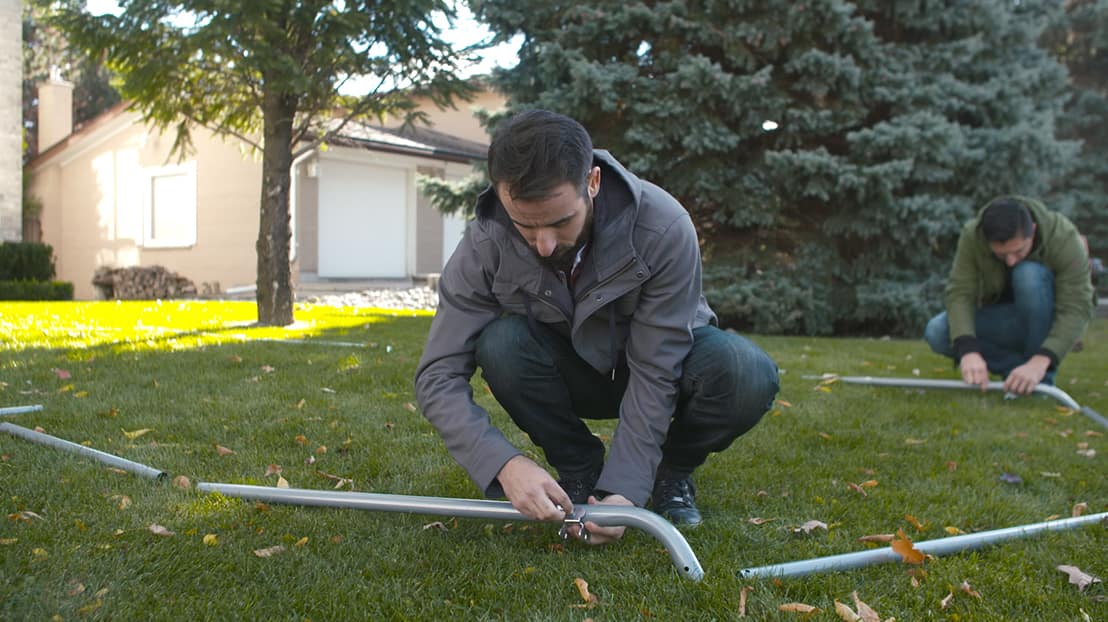
STEP 5
Build the end rib first, then the intermediate end rib
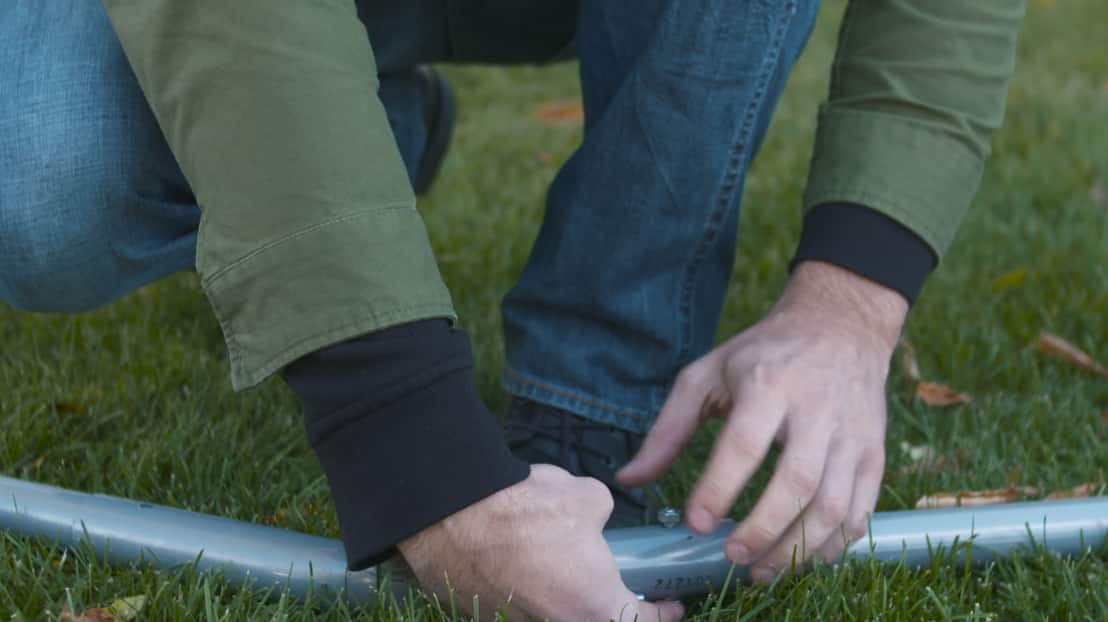
STEP 6
Attach intermediate rib to the end rib

STEP 7
Hand tighten fasteners

STEP 8
Attach all remaining ribs
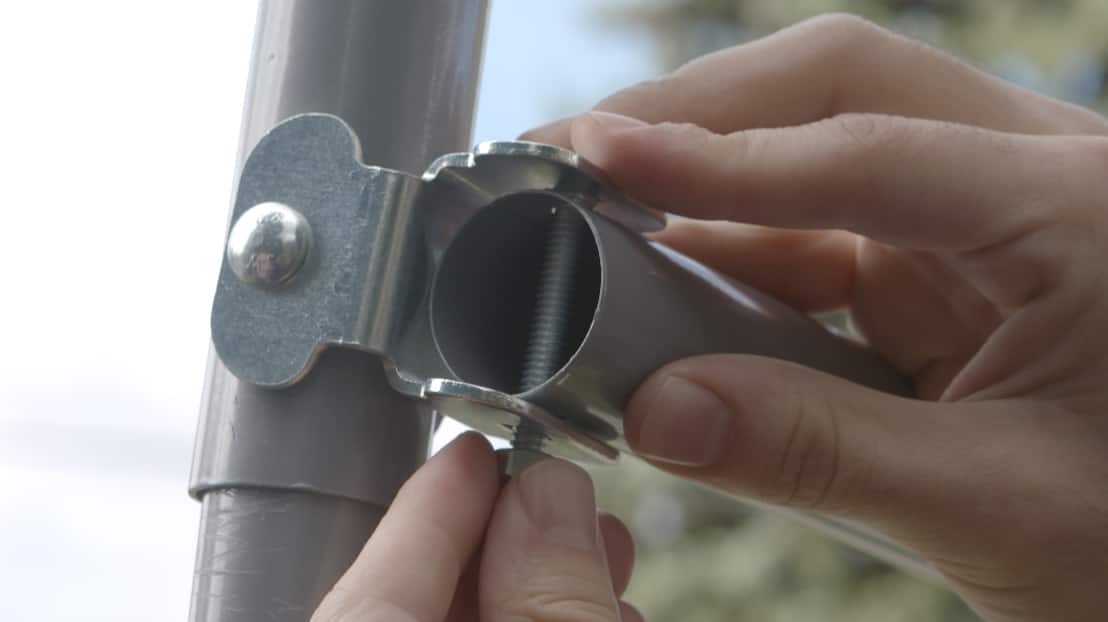
STEP 9
Assemble the final end rib

STEP 10
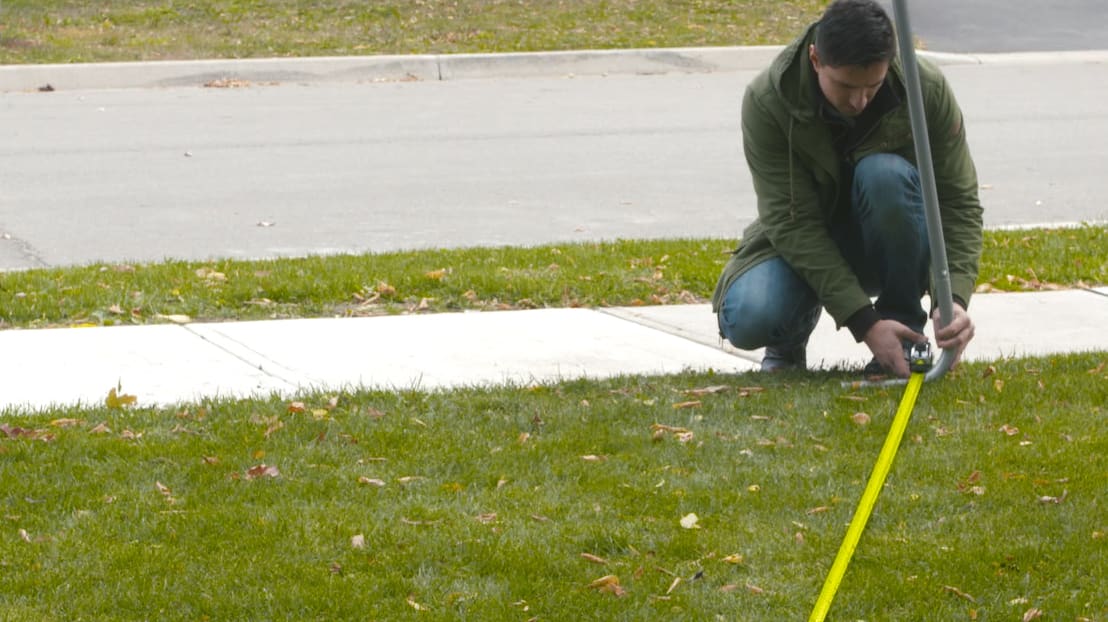
Square the frame according to the manual using a measuring tape
STEP 11
Rotate the anchors
Rotate the anchors into the ground until the eye-lid is about 1 to 2 inches from the ground. Use one anchor per leg to secure your shelter.

STEP 12
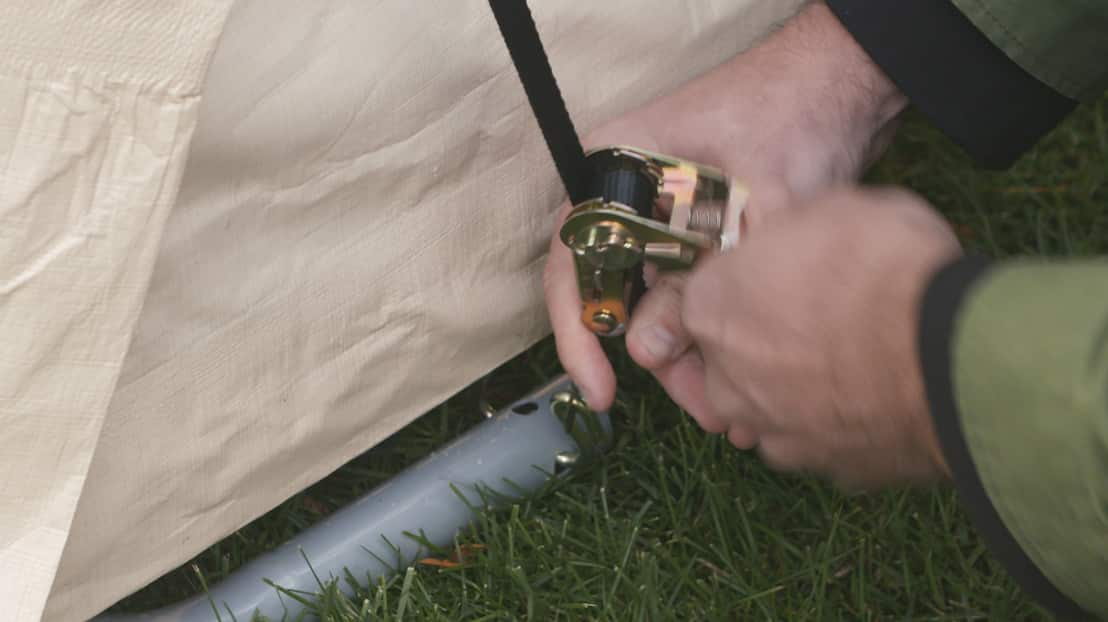
Use a ratchet to tighten all fasteners
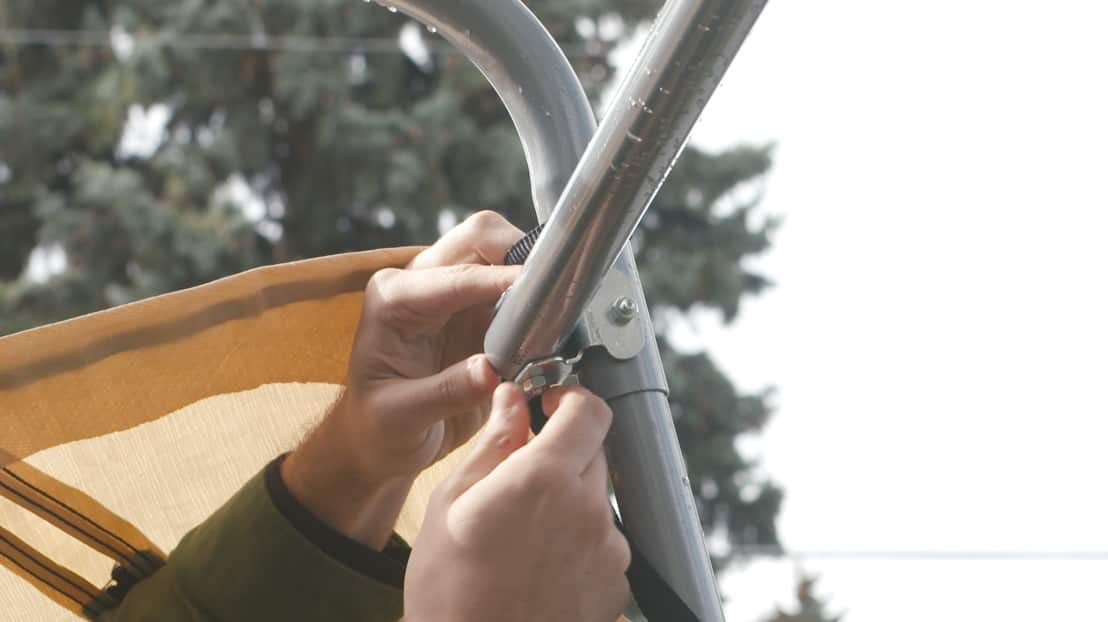
STEP 13
Roll-up the entrance door and secure with bungee balls
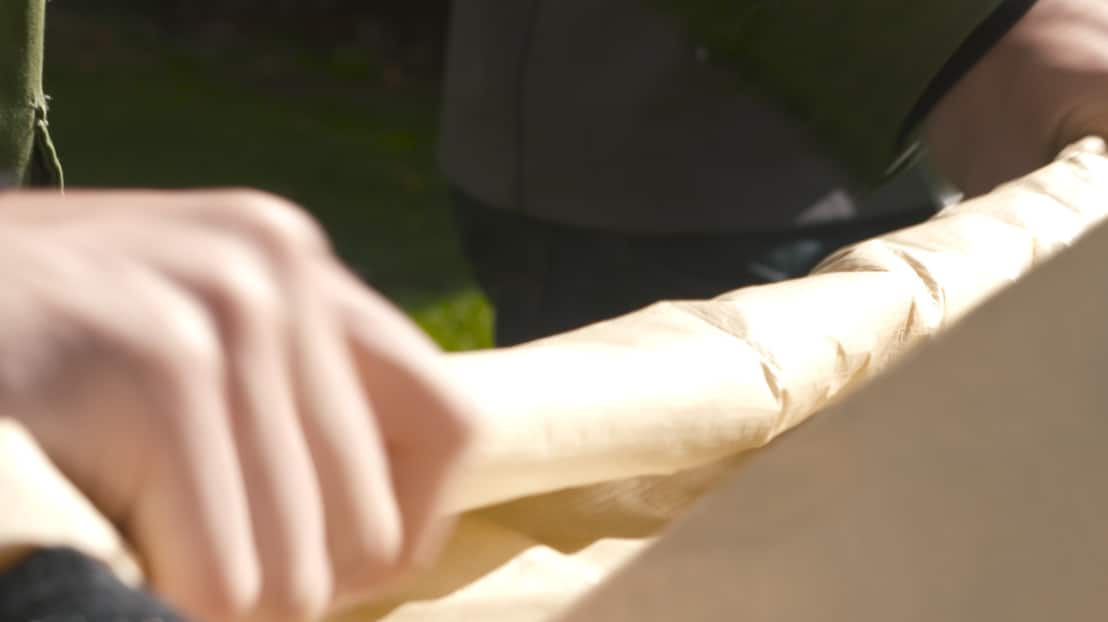
STEP 14
Center the cover
Pull the cover over the frame making sure it is centered. Check that there is an equal amount of overhang on all corners.
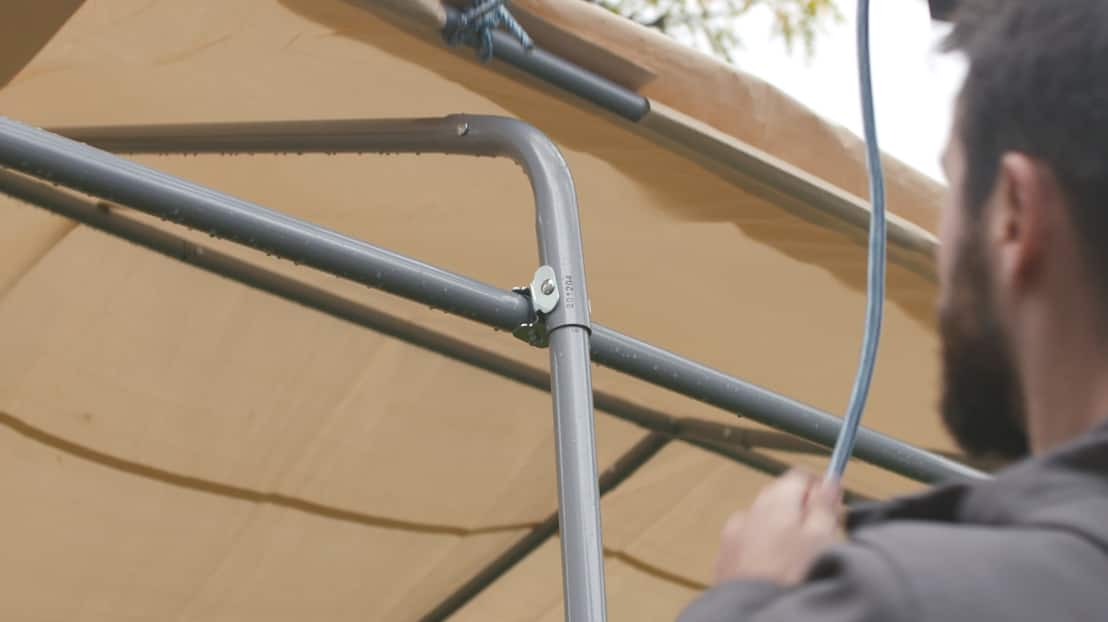
STEP 15
Slide the counter weights in at the bottom of the cover and affix them together

STEP 16
Tighten each corner
When the cover is installed properly you should not be able to put your fingers between the fabric and the ribs. The cover should lay evenly without wrinkles.
