How to set up & take down your pool
Excited to swim all summer in your own above ground pool? Whether you choose a fast set or steel frame style, proper set up and storage will help your pool last season after season.


- POOL SET UP
- POOL TAKE DOWN
How to set up your above ground pool
Here are some tips for preparing your above ground pool for spring and summer splashes.
Fast set pools
Step 1: Lay out your pool
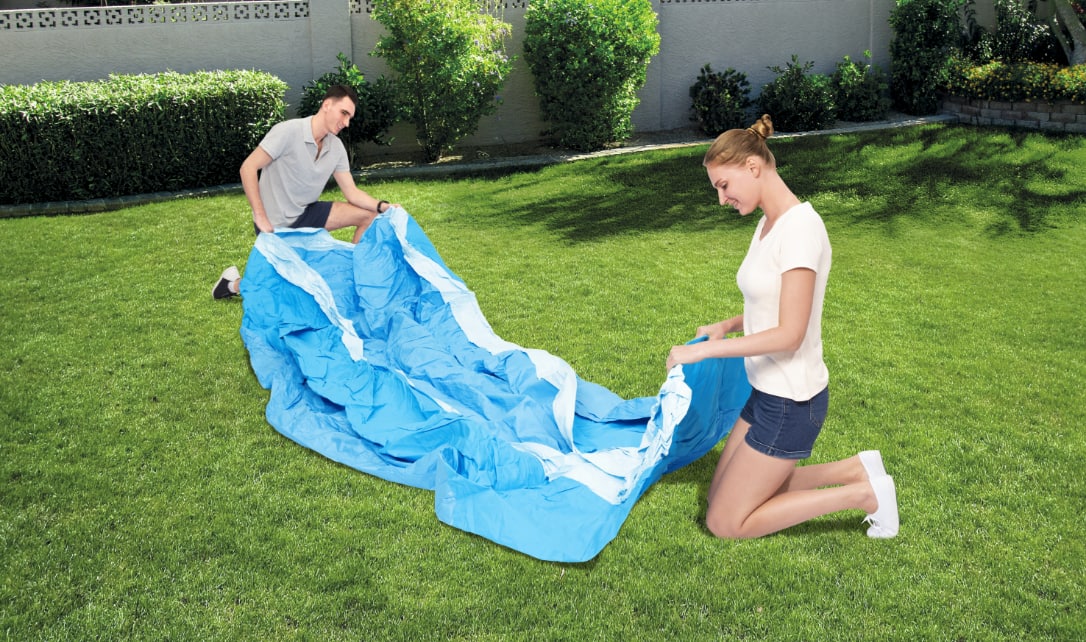
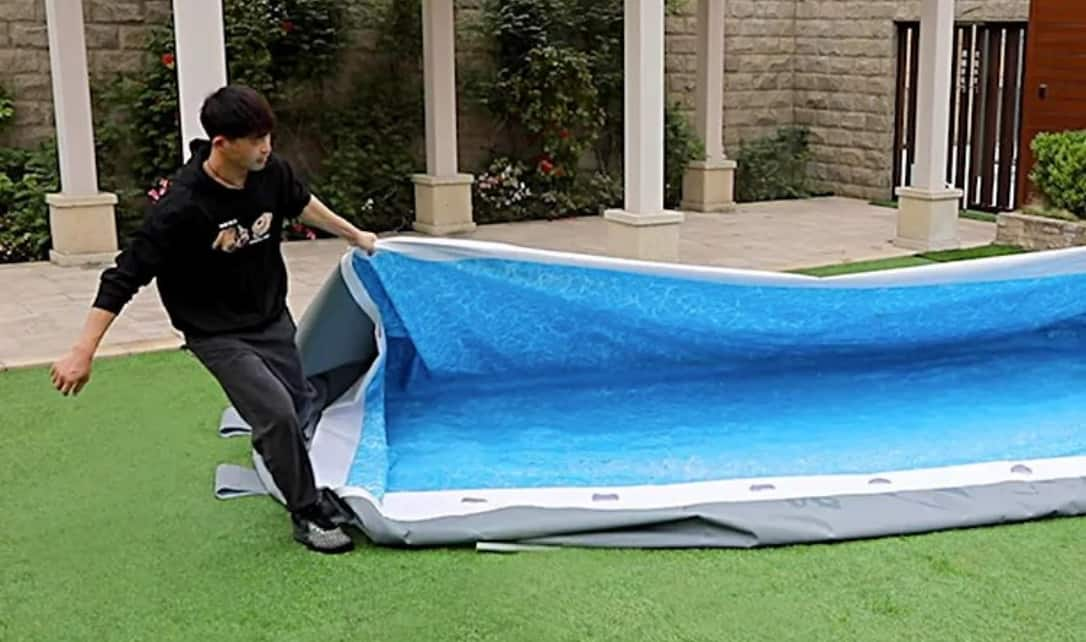
Take your pool out and unfold it onto the ground. Make sure the surface you’ve chosen to put your pool is completely level. Even a slight angle to the ground can cause unnecessary stress on the pool frame, which could lead to damage.
Step 2: Inflate
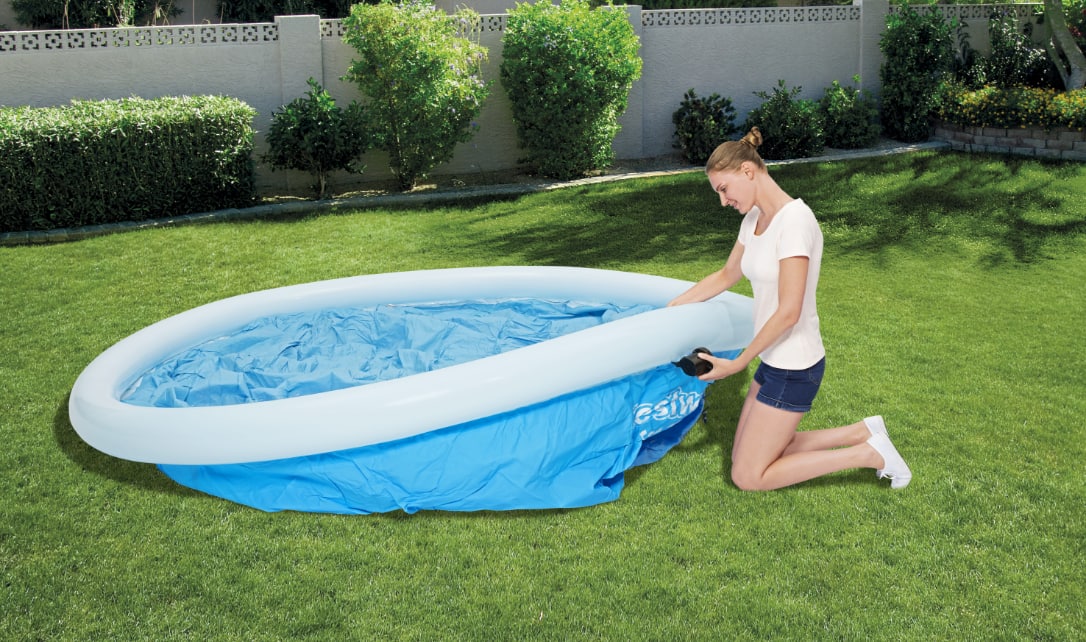
Inflate the top ring of your fast set pool.
Step 3: Fill up the pool
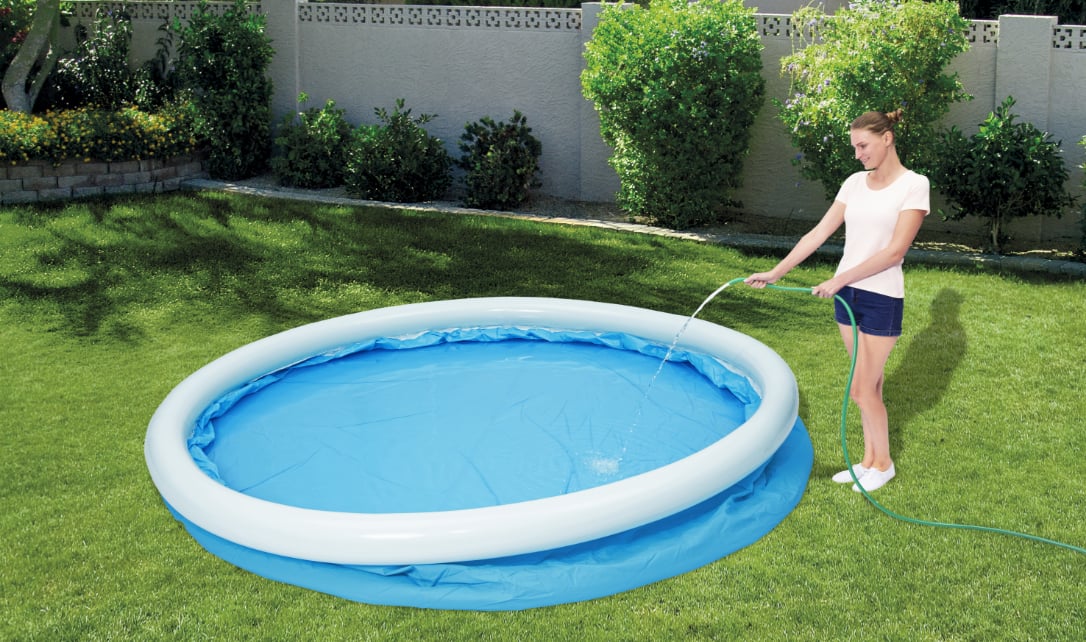
Fill the pool with water using a hose. As the pool fills, the walls will rise to form its shape.
Steel frame pools
Step 1. Pick the right surface for your pool
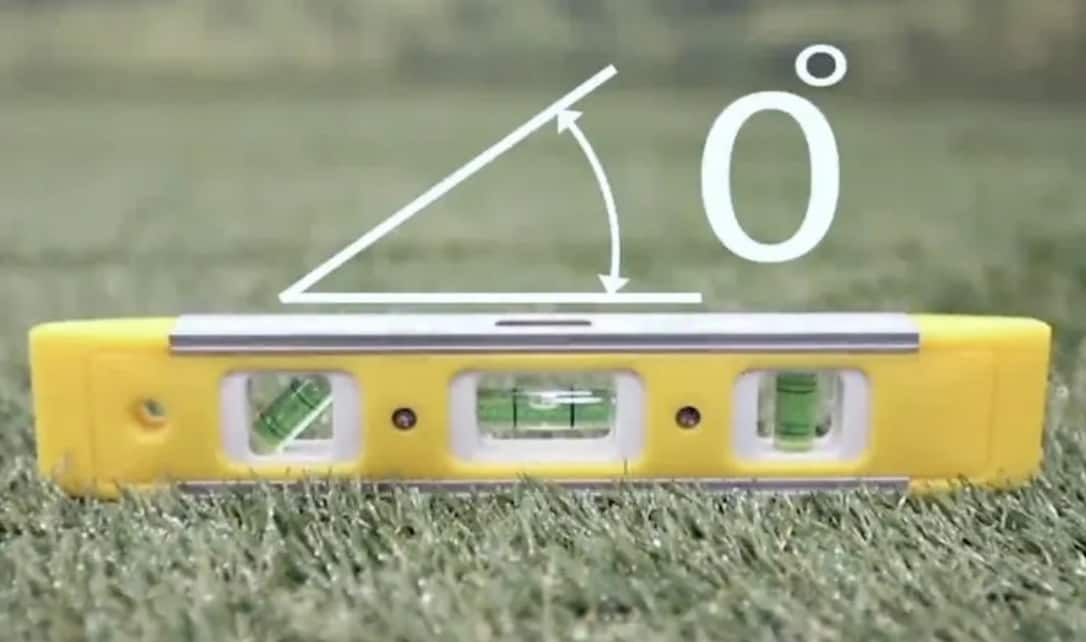
You can use almost any flat, solid and level surface to set up a steel frame pool. Use reliable tools to confirm that the ground is perfectly level. The ground must also be stable enough to withstand the weight and pressure of the water. Do not set up a pool on driveways, decks, platforms, gravel, sand or asphalt. If you decide to set up your pool on your lawn, remove plants and grass from the area to protect the liner. Avoid dragging your pool across the ground as this can tear in the liner.
Step 2: Prep your pool parts
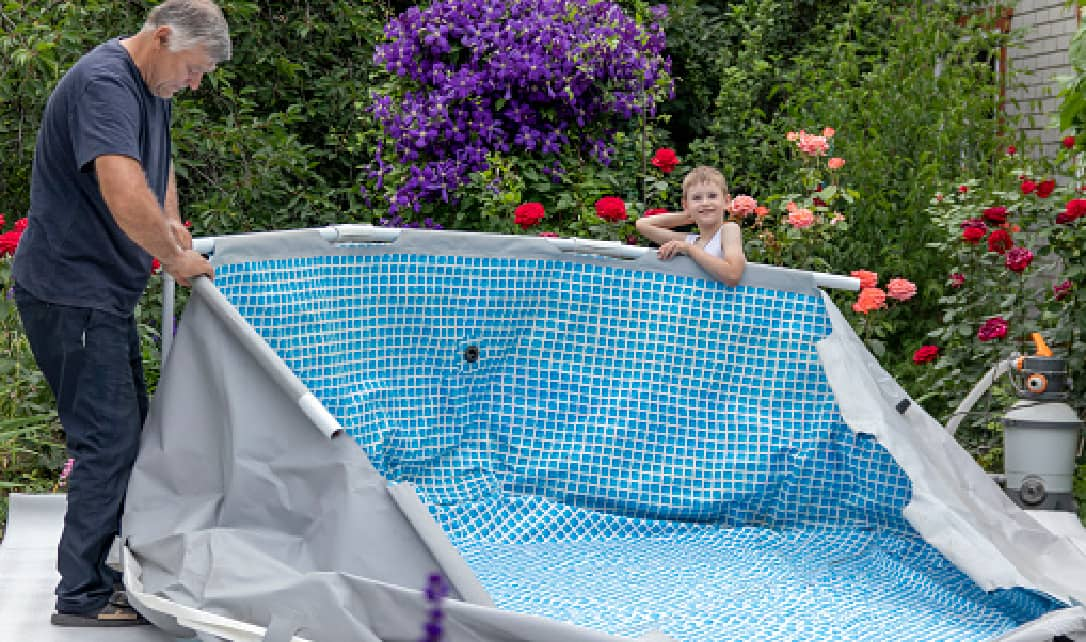
Check that you have all the pieces and parts included with your pool kit by laying everything out on the ground. To prevent damage to the liner, leaving the pool out in the sun for at least 2 hours before assembly is recommended. This will make it more pliable and easier to unfold, while preventing cracking.

Step 3: Assemble & fill your pool
Follow the instructions in the user manual or packaging to build the pool frame and attach your liner. Next, hook a hose to the drain valve of the pool to fill it with 1 – 2-in (2 – 5cm) of water. Step into the pool and use your feet to smooth out the liner so all the edges are extended and there are no more wrinkles. Continue to fill up the pool up to 90% to allow room for play without spill over.
Step 4: Prime the pump
Check and prime your pool pump each season before you use it. Start with the pump turned off, remove the lid and check for clogs or cracks. Next, follow the steps for priming your model of pump as instructed in your user manual. A typical priming process involves releasing trapped air until the pump fills with water. Once water is flowing steadily, the pump can be turned on.
Shop Pumps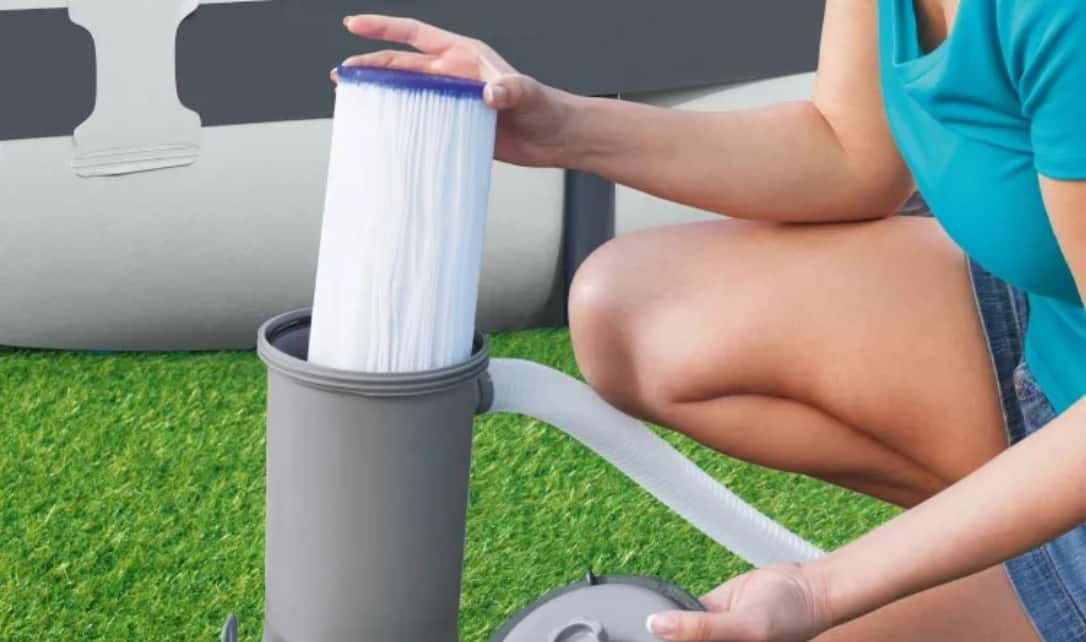
Step 5: Test the drain the valve
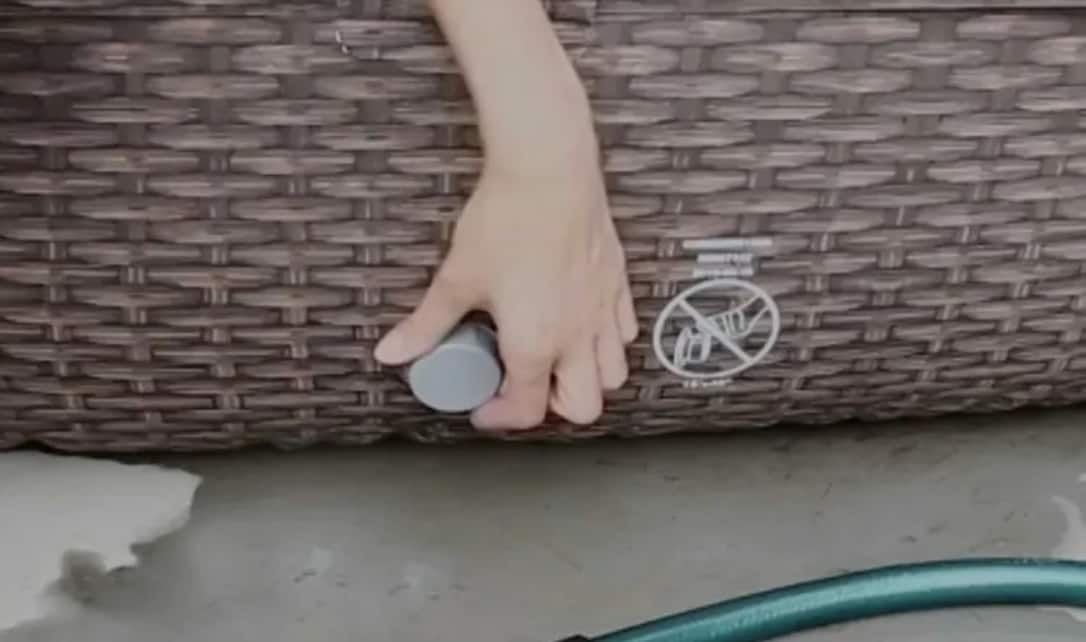
The final checkpoint to setting up your above ground pool is your drain valve. Remove your hose quickly, but carefully from the valve and add its cap immediately. Make sure the valve cap is properly secure and that no water is leaking. Once your drain valve is tested, your pool is ready for fun in the sun.
Step 6: Stock up on supplies
Make sure you have pool cleaning tools, chemicals, filters and any repair supplies or replacement parts you need to get you through the season.
Shop Now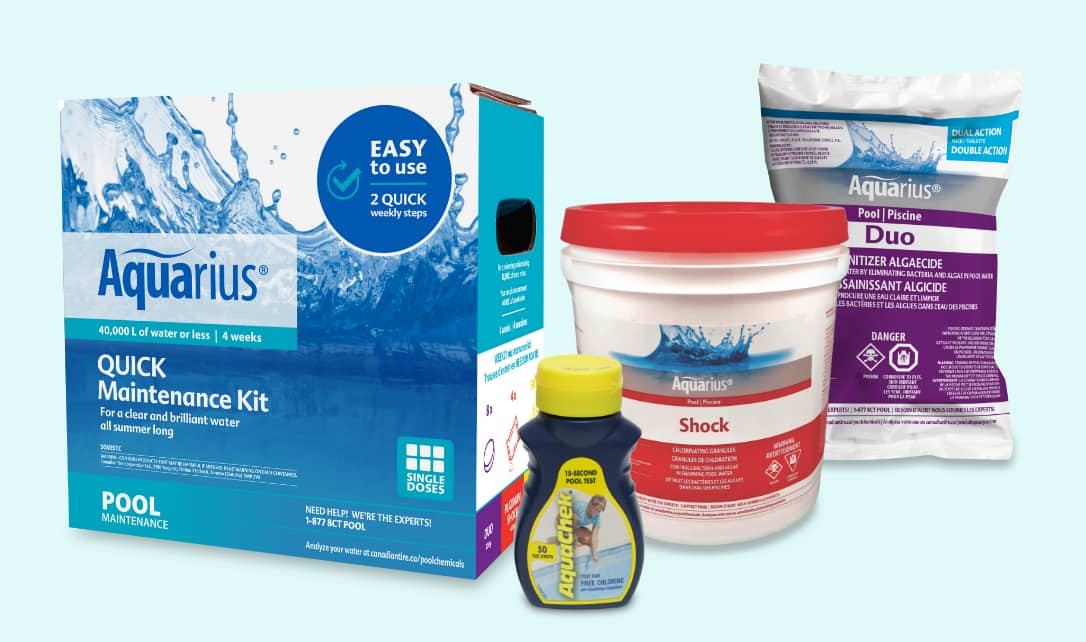
How to take down your above ground pool
Follow these simple steps to properly disassemble and store your pool to ensure that it’s ready for next season
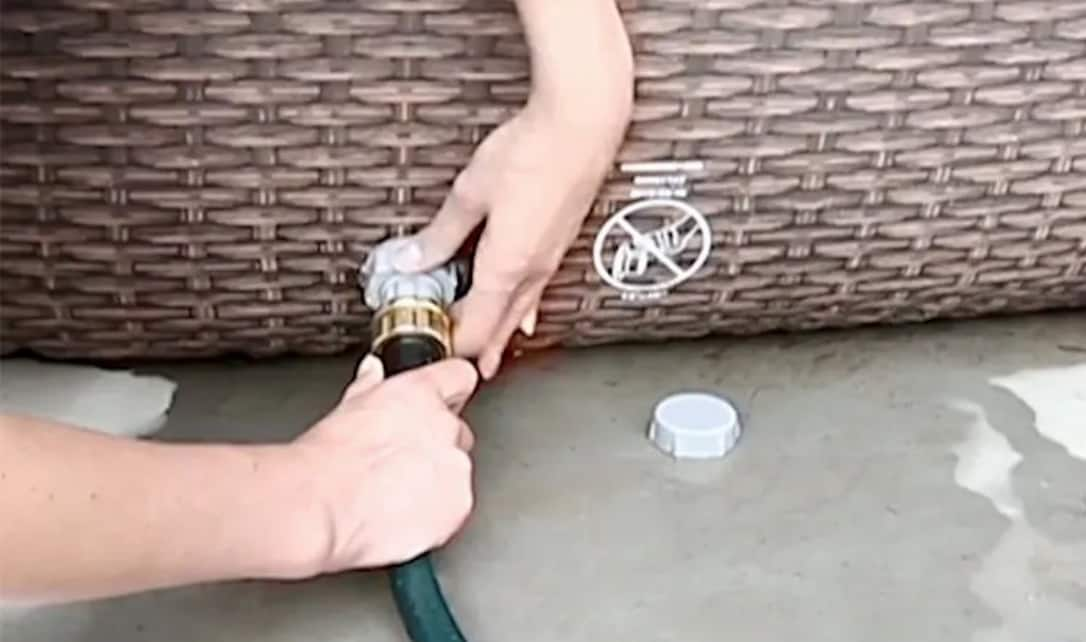
Step1: Release water through the drain valve
Each pool features a specially designed flow control drain valve that allows you to adjust how quickly the water releases from your pool. Depending on the setup of your yard, you can release the water directly from the valve or you can attach it to a hose to drain the water to a specific area. Just make sure that the drain or hose are directed away from your house or anything that is vulnerable to water damage.
Step 2: Remove the frame or deflate the top ring
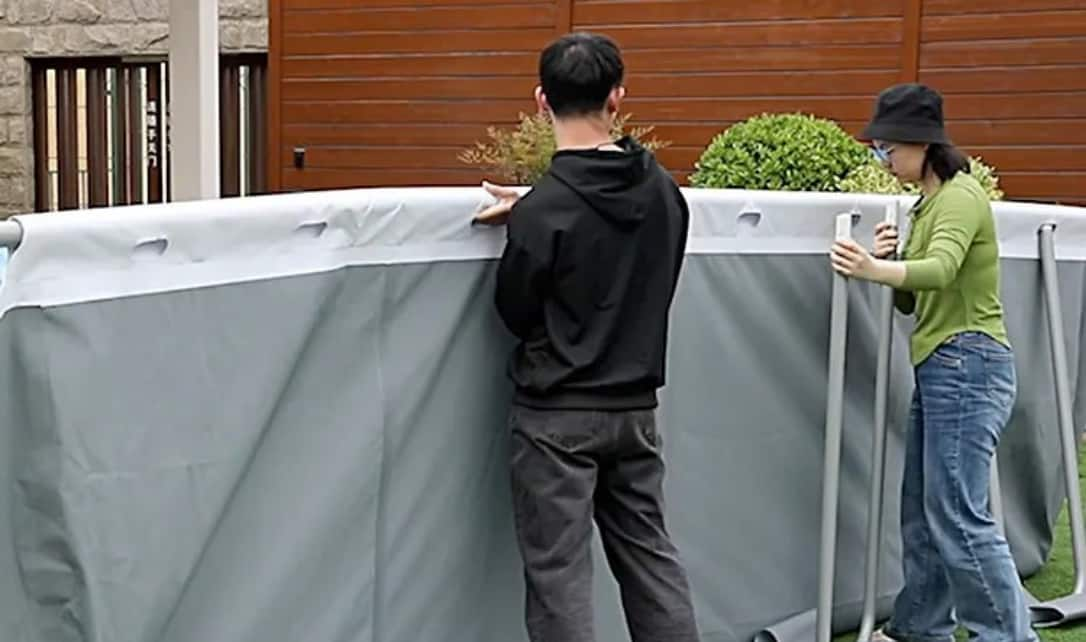
For steel-frame pools, gently remove the legs and frame from the liner.
For fast-set pools, deflate the top ring. You can do this manually by squeezing the large safety valve and pressing down on the ring to push the air out. Alternatively, you can use an air pump on a deflate setting to quickly release the air from the ring.
Step 3: Clean & dry the liner
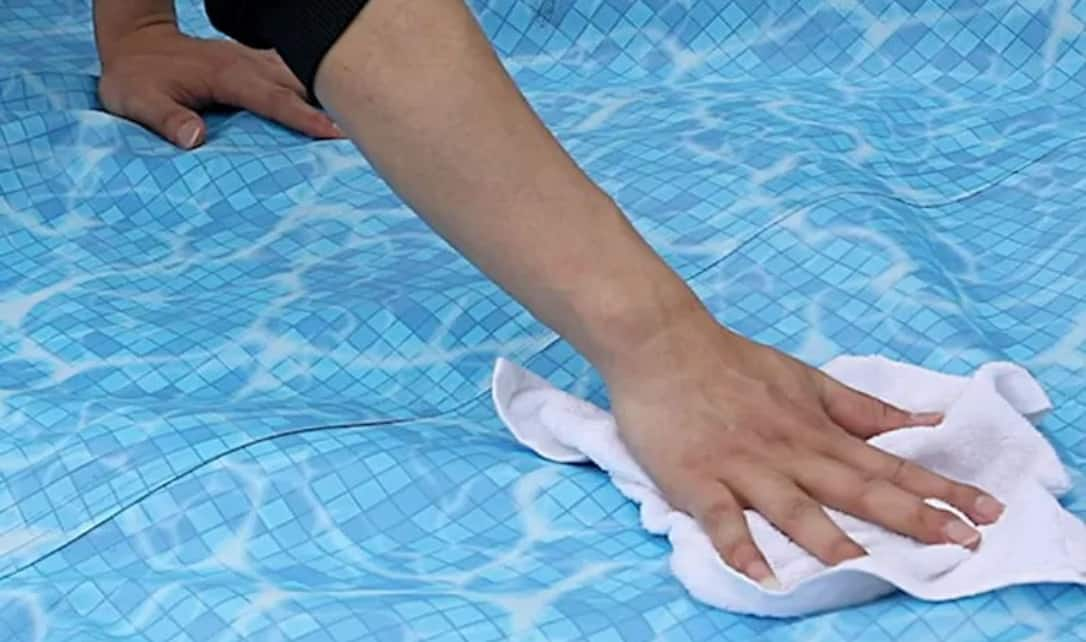
Once the frame is taken apart or the top ring is deflated, use a hose or tap water to rinse off the inside of the liner. Make sure to rinse away any chemicals, dirt or debris stuck to the material and wipe down with a clean cloth. Lay the liner out flat, with the inside facing the sun, to dry completely. Do not use blow dryers or other heated appliances as they can damage the liner. Once fully dry, prepare to bring the liner indoors right away to avoid sun or wind damage.
Step 4: Fold the dry liner
Start folding from the outer edges of the pool, taking care to remove any dirt or debris that may have stuck to the underside of the liner. To prevent the material from cracking, fold the liner as loosely as possible.
Tip: Before folding up the liner, consider sprinkling it with talcum powder to prevent the material from sticking to itself during storage.
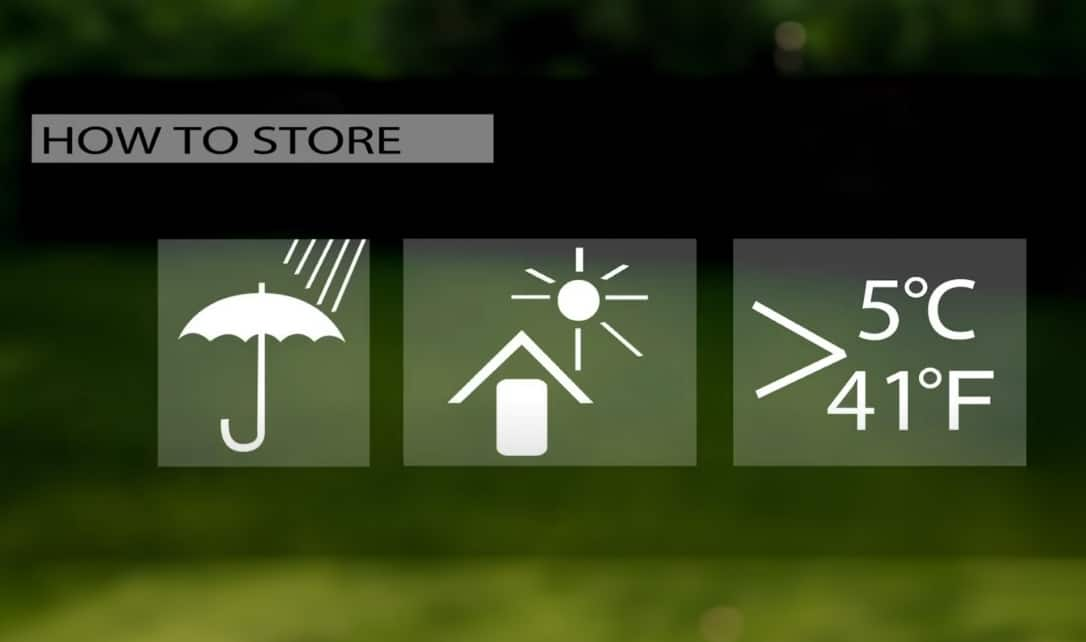
Step 5: Store in a dry place until next summer
Place the pool parts back in the box they came in and store in a cool, dry place until it’s pool season again. If possible, choose a storage area where the temperatures are between 5C to 38C (41º – 100ºF). Make sure your storage space is secure from nesting animals that can create holes and mess during the fall and winter months.
