CANADA'S STORE Made for Life in Canada

Credit Offered* Learn More

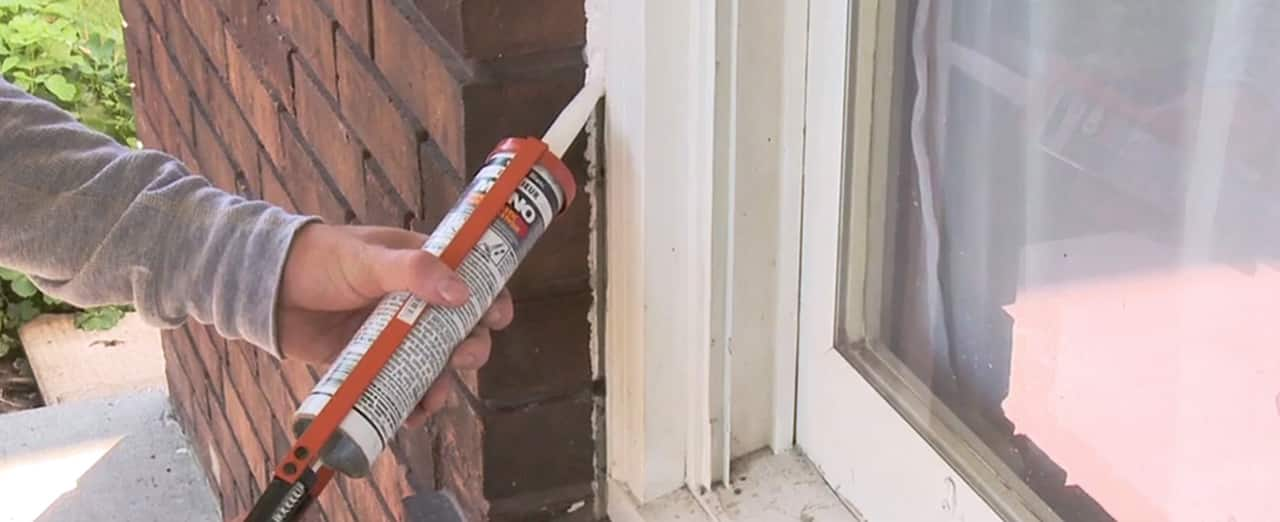
How to apply exterior caulking

Proper exterior caulking around your home seals out moisture and outside air while reducing energy costs and preventing costly repairs. It will also help keep out insects and small creatures seeking food, shelter and warmth.  With some basic tools, supplies and a little work, your windows will be airtight and ready for the season.

ct howto 2016 Tools Apply Exterior Caulking ct howto 2016 Tools Apply Exterior Caulking

STEP 1

Check for drafts.

Check to see if any air flows through your closed windows. Also look at the caulk on the outside of the window. If there are visible gaps and cracks, it's time to re-caulk.

STEP 2

Remove old caulking.

Be careful not to damage the door or window frame.

STEP 3

Cut the nozzle.

Although this seems trivial, the proper cut will have significant impact on how thick and wide your caulk will be applied.

STEP 4

Puncture the seal at the bottom of the nozzle using the caulking gun.

STEP 5

Insert tube of caulking in applicator.

...and you are ready to go.

STEP 6

Apply new caulking.

Use a step ladder if needed.

STEP 7

Use your finger to add a finishing touch.

To get a really smooth finish, wet your finger and drag it along the bead of caulking compound.

STEP 8

Clean up around the window or door with a wet rag.

STEP 9

Wipe the nozzle of the caulking tube and replace the cap.

STEP 10

Final tip!

If you're using paintable caulk, let the compound set for the recommended drying time before painting.