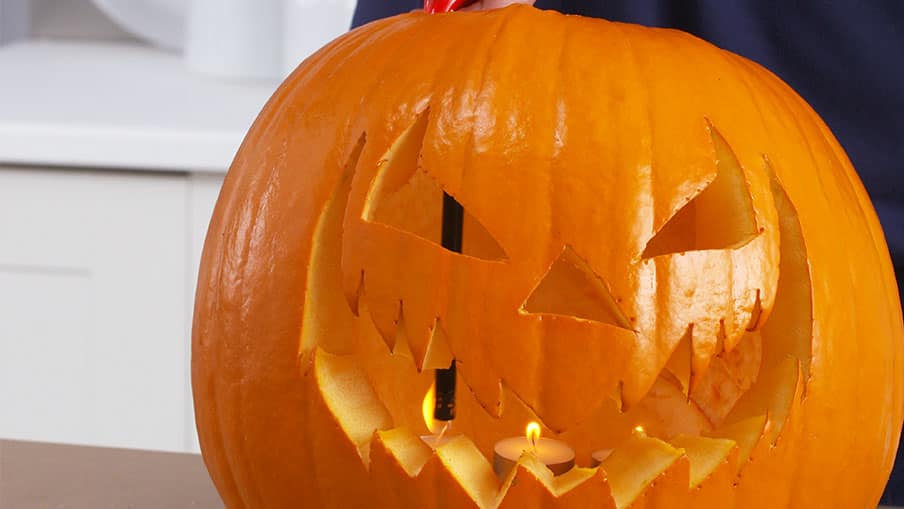
How to carve a pumpkin
Candy bowl? Check. Creepy costume? Check. Amazing glowing jack o’ lantern ready to greet little goblins at the door? Don’t worry, you got this.

STEP 1
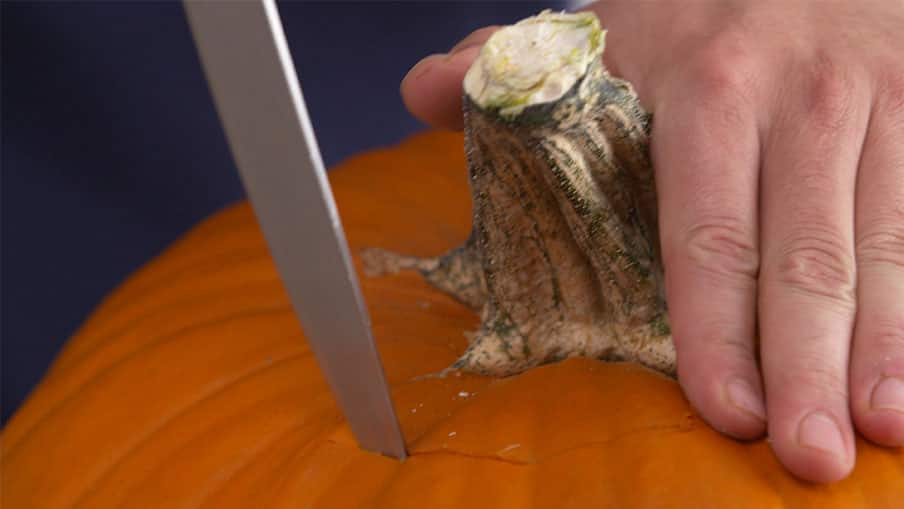
Cut a hole in the pumpkin
Place the pumpkin on a flat surface safe for cutting. Using a knife, cut a hole at the top of the pumpkin.
STEP 2
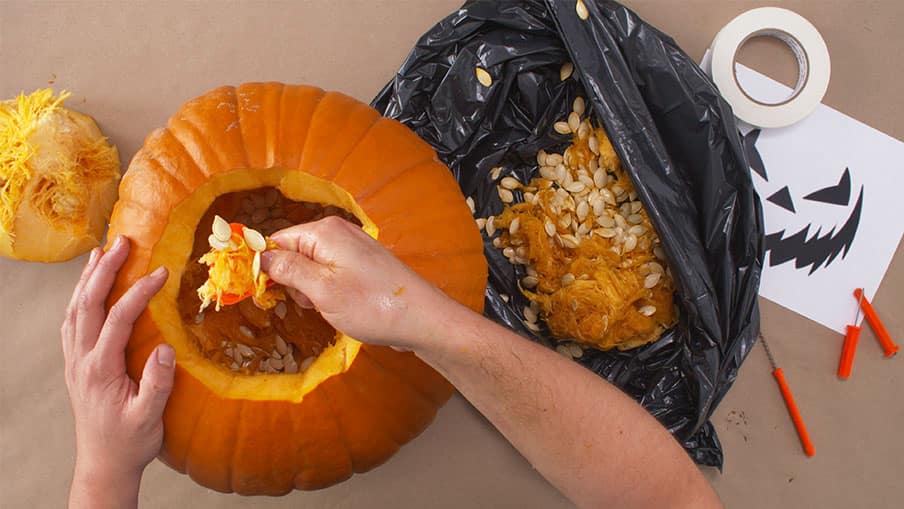
Scoop out the flesh and seeds
Use a spoon or scraper to scoop out all the flesh, pulp and seeds.
STEP 3
Transfer the design onto pumpkin
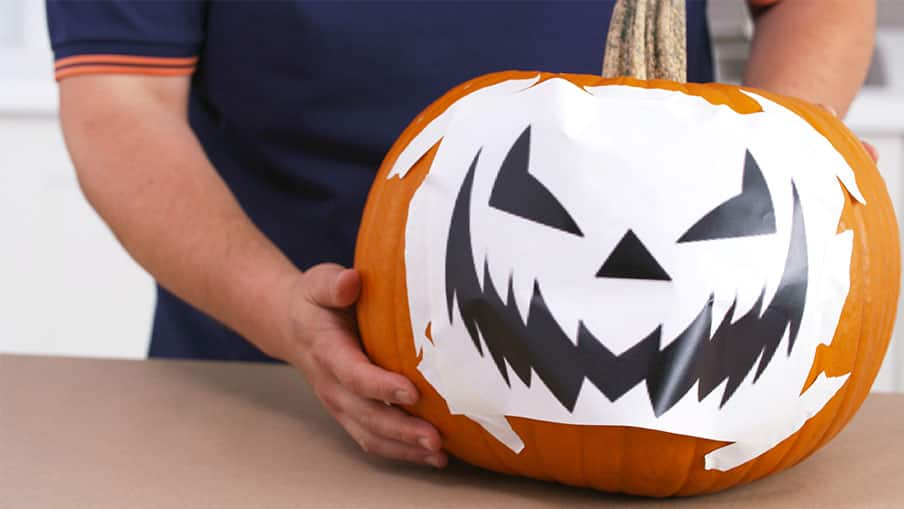
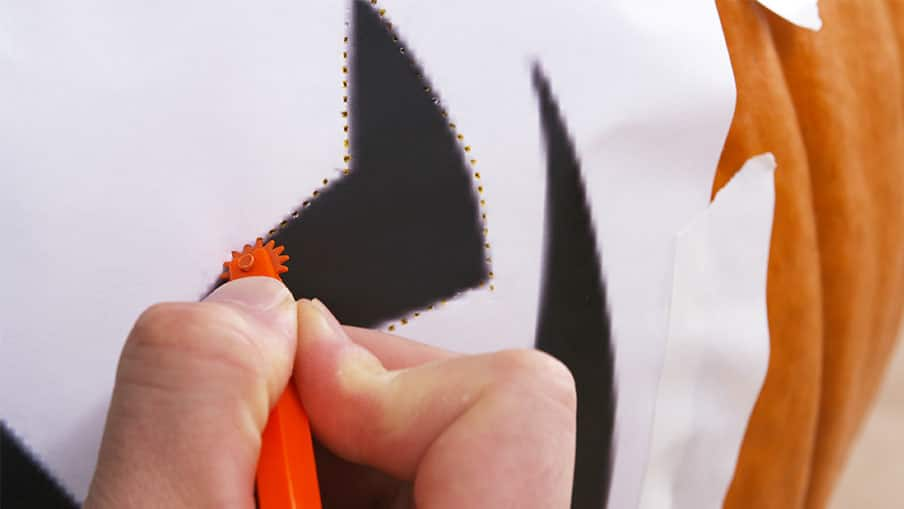
With your hollowed out pumpkin, it’s time to apply your selected design. Draw directly on the pumpkin or, for more complicated designs, affix the pattern to the pumpkin and trace it with a pounce wheel, needle tool or T-pin.
STEP 4
Etch design into pumpkin
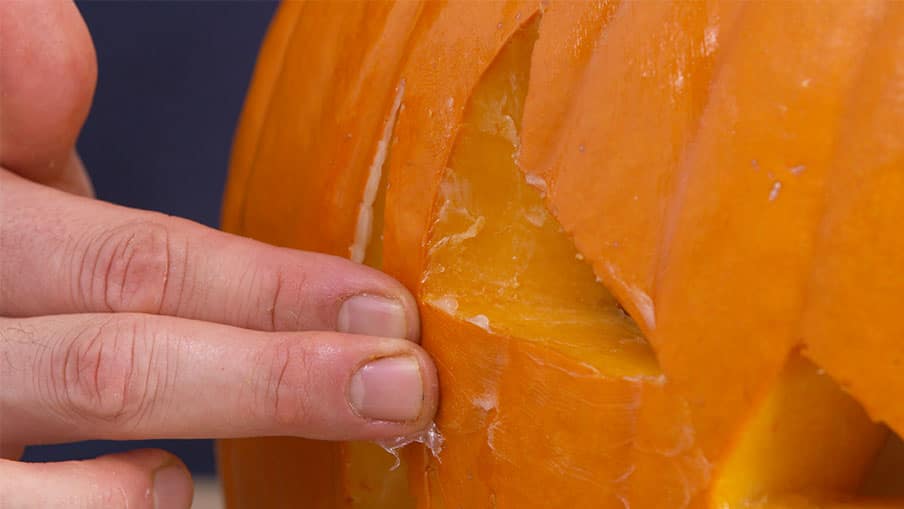
Take your carving tool and carve along the pattern you’ve traced, popping out sections of pumpkin as you go.
STEP 5
Coat with Petroleum Jelly
To prevent your pumpkin’s flesh from browning prematurely, apply a thin film of petroleum jelly.
STEP 6
Light it up
Place tea lights inside the pumpkin and put the top back on. You can also use a battery operated tea light.
