CANADA'S STORE Made for Life in Canada

Credit Offered* Learn More

How to stain a deck with Premier

Cleaning and applying a protective coat of stain can not only extend the life of your deck, but also give it an updated look. Premier can help!

ct content how to stain a deck ct content how to stain a deck

STEP 1

Choose your stain.

Choose a stain that gives you the appearance you want. Solid Premier stain protects and provides a low-lustre opaque finish, hiding wood grain, while semi-transparent Premier stain is designed to protect without completely obscuring the wood grain and natural colour.

STEP 2

Inspect the condition of your deck.

If your deck is new, make sure you allow it to cure for at least 1 to 3 months before staining. For pressure treated and composite wood, we recommend staining the deck as soon it’s dry and will accept the stain. 

If you’re not sure whether it’s time to refinish your deck, pour a glass of water on a well-traveled area of the deck. If the water beads up, it’s not ready to stain. If the water is absorbed then it’s time to seal the wood before any serious damage is done. The more time the deck sits in the sun – the more damage will occur.

STEP 3

Clean and prep your deck.

For best adhesion, prep your deck by removing any loose or peeling parts. Maximize stain penetration by sanding new wood surfaces. Always clean the surface with an appropriate wood cleaner to rid the surface of any mould, mildew or dust. Give the surface at least 48 hours to dry after cleaning before you start staining. 

STEP 4

Check the weather.

Keep an eye on the weather report. Stains should be applied to a dry deck when air and surface temperatures are between 10 to 30 degrees Celsius. Do not stain when rain is expected in the following 48 hours. Premier Active has a low-temperature application feature and can be applied as low as 5C. Make sure to check the packaging.

Achieve a more uniform finish by working out of direct sunlight. The stain will spread more evenly without leaving brush marks.

STEP 5

Start staining.

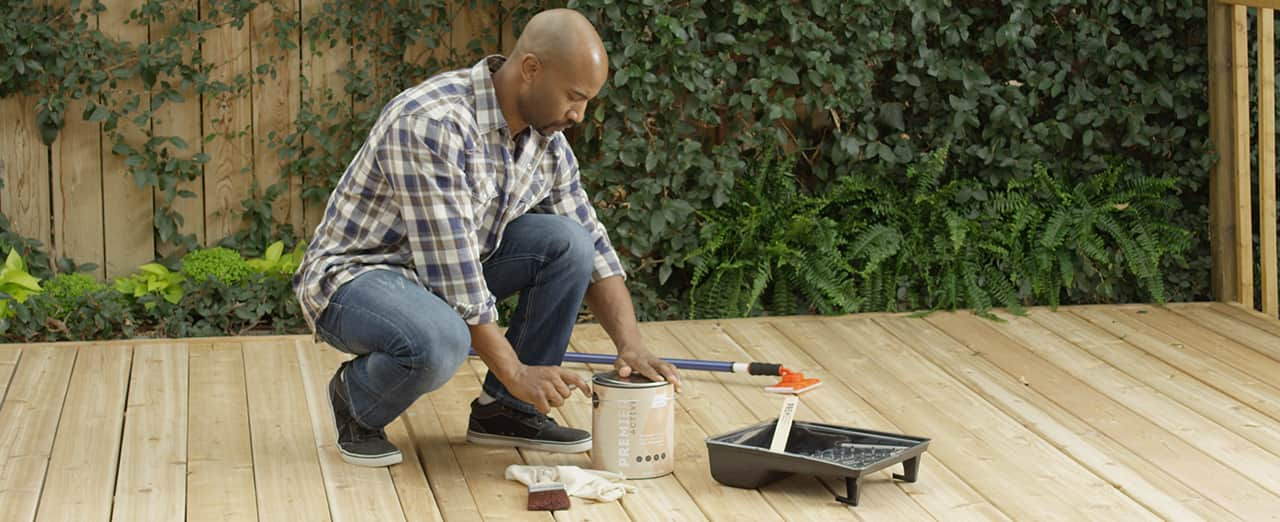
Prepare your accessories. Premier has accessories designed to work with Premier Stain, to make your project easy and successful. Stain pads and flat polyester or nylon brushes are commonly used for staining. You may want to consider a power sprayer for vertical surfaces and hard to reach areas, but be sure to mask off any areas you don’t want to stain. 

To start, mix containers of the same product together to ensure colour uniformity. Stir stain before and throughout the project. Use a brush to stain vertical surfaces and intricate areas. For horizontal surfaces, complete entire length of board before moving on to the next, maintaining a wet edge. Be sure to back brush, working the stain into all the wood’s natural crevices and between deck boards, for even application. Do not apply stain too heavily. For best results, apply two thin coats.

STEP 6

Work in sections.

If you have to take a break, avoid lap marks by applying stain end-to-end in full board lengths. Allow stain to dry for at least 24 hours.