Keep your to-do list close at hand with a chalkboard wall. It's a fun accent that's perfect for sharing family info, from grocery lists to carpool schedules. Don't worry — you got this!
First, remove loose paint and lightly sand the surface, then clean with soap and water, rinse and let dry.
STEP 2
Apply primer
Then, if necessary, apply a primer to any unpainted surface and let dry for at least 2 hours.
STEP 3
Stir the paint
Stir the chalkboard paint thoroughly.
STEP 4
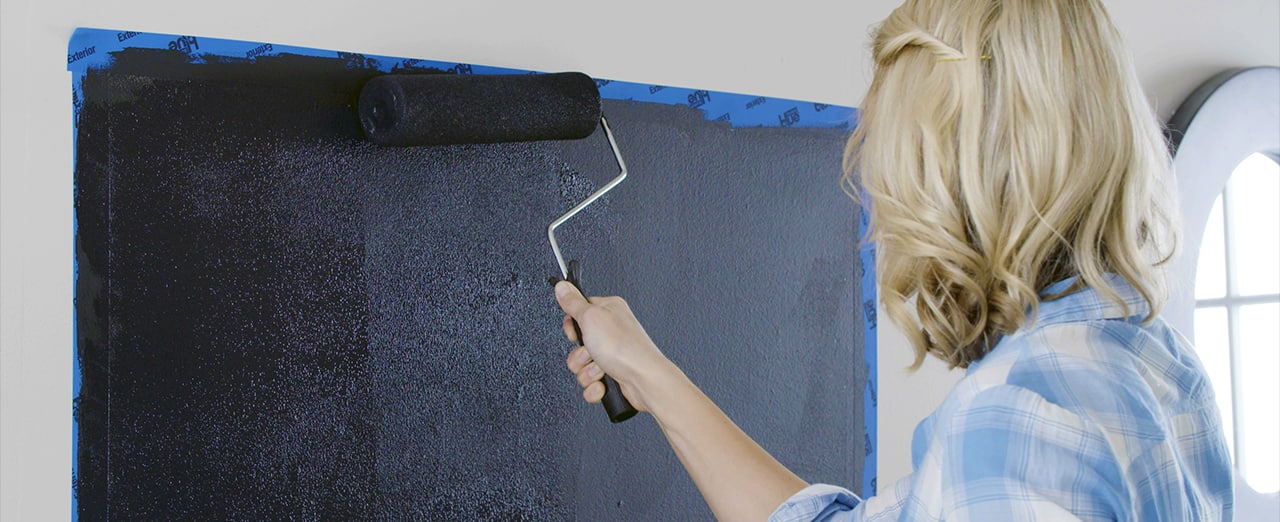
Apply paint evenly across surface
Using a good quality brush or a roller designed to give a smooth finish, apply an even coat. Try to avoid excessive brushing or rolling.
STEP 5
Let dry and apply a second coat
Let it dry for four hours before applying a second coat. After the second coat is applied let it dry for three days before use.
STEP 6
Season the chalkboard
To provide the best erasability, rub the side of a piece of chalk over the entire surface of the chalk wall, and erase. The thin layer of chalk dust will act as a barrier.